You can now 3D print 4-color mountain using advanced options in Voxelizer. Here’s how.
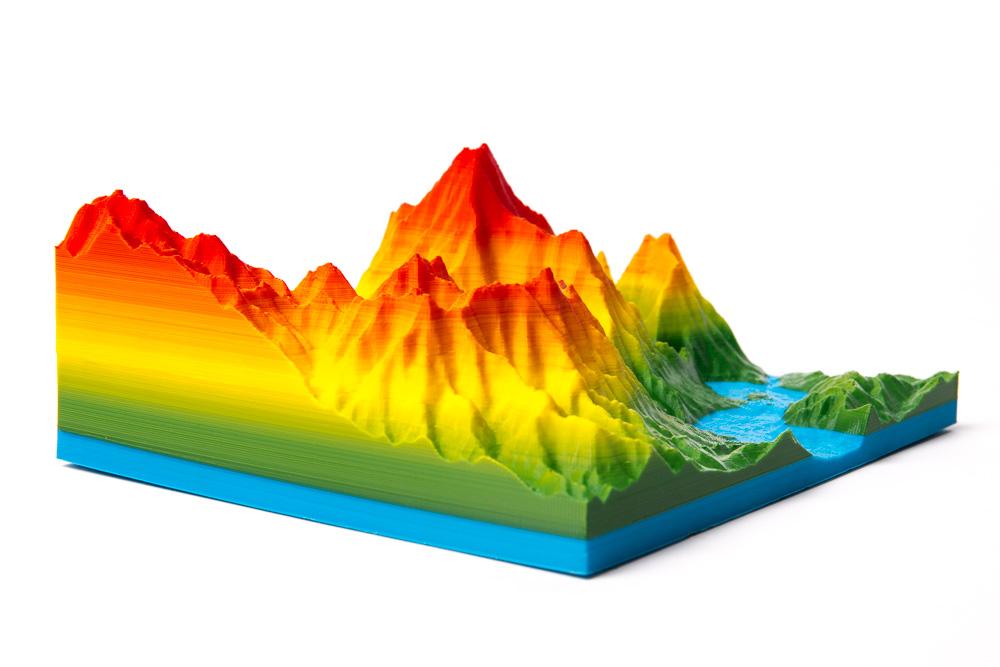
You can now 3D print 4-color mountain using advanced options in Voxelizer. Here’s how.
DUAL PRO toolhead for ZMorph all-in-one 3D printer gives you the ability to make high-quality two-material prints, use soluble supports, blend colors, and even print colorful images on objects using Image Mapping feature. These abilities are enabled through updates to our proprietary Voxelizer software. Today we’re happy to share something different - a neat trick on how to make unique 4-color objects with gradients.
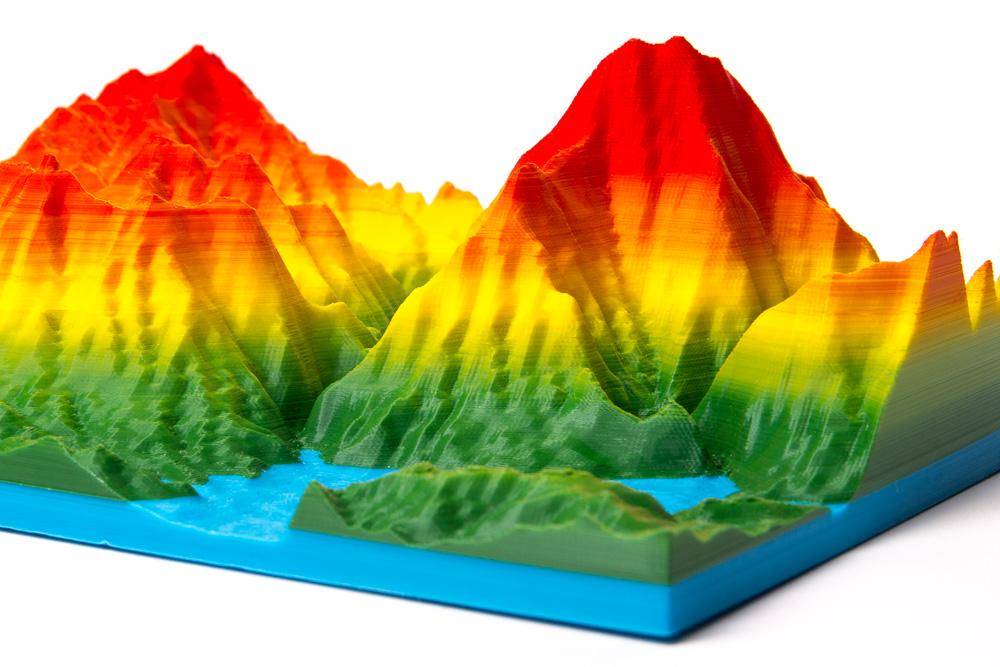
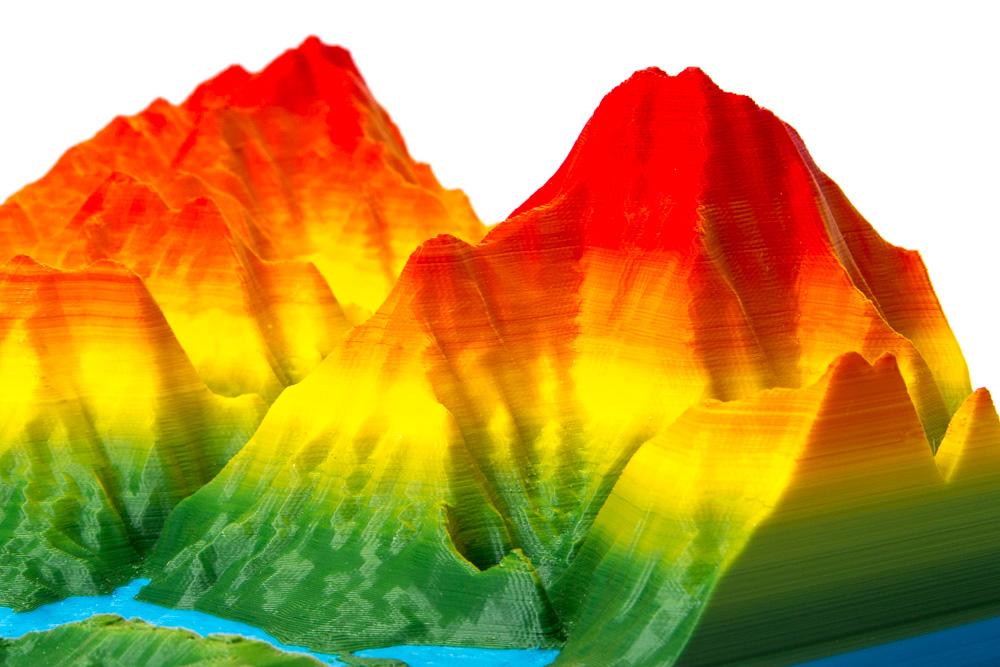
Download the 4-color mountain sample file from Designfutures and follow the guide below to make it yourself.
[Tweet "How to #3Dprint 4-color mountain using DUAL PRO #3Dprinting toolhead"]
Important notice 1: This tutorial is recommended for advanced users only.
Important notice 2: Your printer needs to be connected to your computer via the Ethernet cable throughout the entire process.
Important notice 3: If you want to print custom 4-color objects, you need a basic knowledge of how G-codes work. We recommend that you start with printing our 4-color mountain sample first and then proceed to prepare your own G-codes.
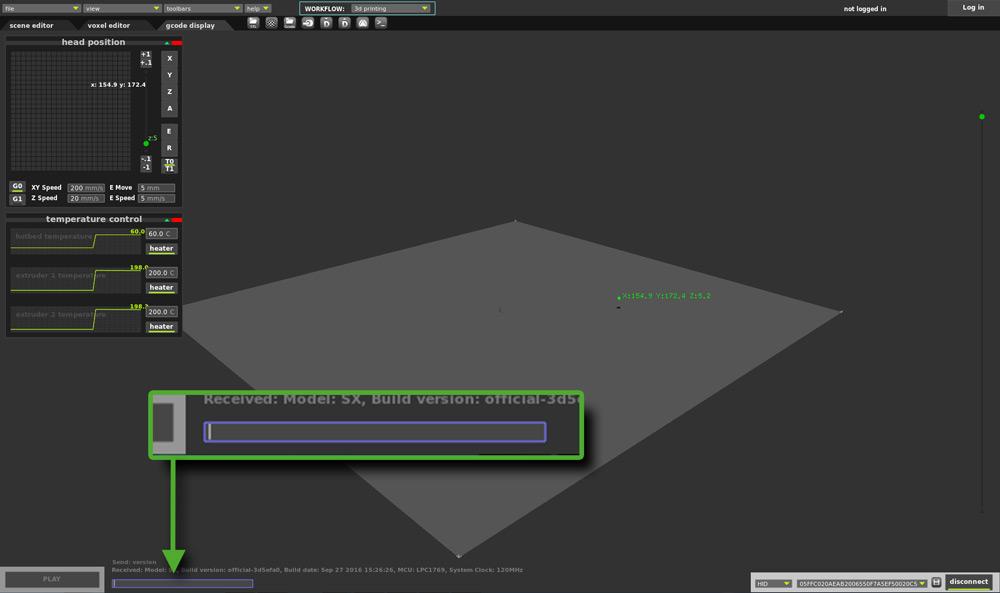
Connect ZMorph to your computer via the Ethernet cable and launch Voxelizer. Once the machine is connected the command window is visible in the left corner of the screen - you will use it to operate the machine during the printing, so make sure that it stays connected throughout the entire process.
Download the 4-color mountain G-code available on Designfutures and follow the step-by-step guide below.
Mount all four spools of PLA on the aluminum spool holder, then feed the green filament into the left extruder of DUAL PRO and blue into the right one. Copy the G-code to the internal SD card of the machine, use the Touchscreen to choose it, and start printing.
Once the blue base is printed, the toolhead should automatically stop and travel to 0-position on the X axis. Do not turn off the machine and don’t use the Touchscreen!
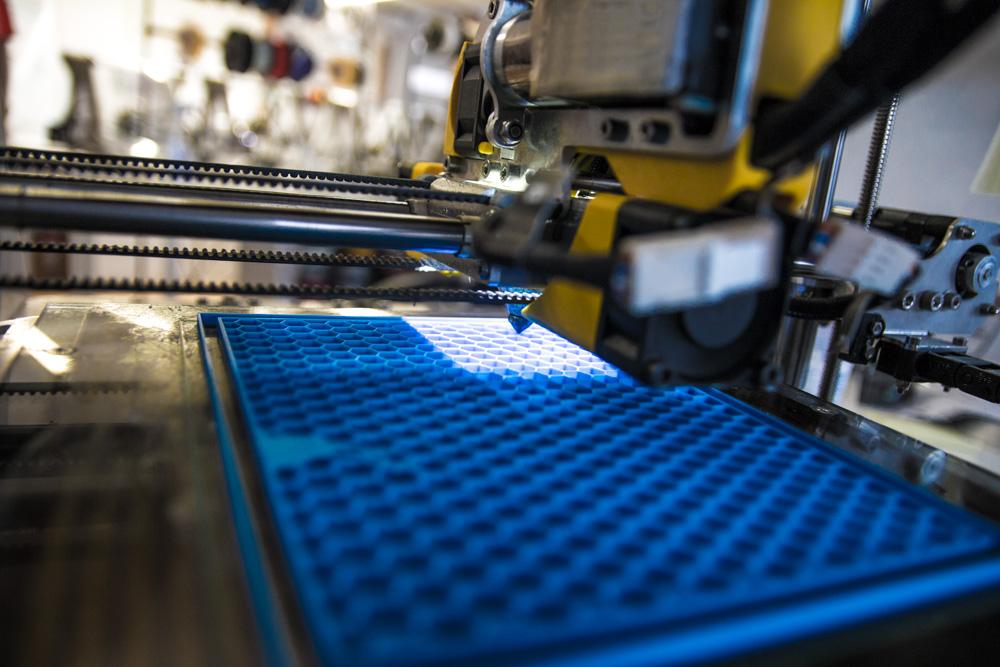
If you haven’t connected the printer yet, launch Voxelizer and do it. There should be a command window visible in the left corner of the screen. From now on, you will use only the command window to operate the machine until the print is finished.
Import the 4-color mountain G-code into Voxelizer and start changing the blue filament using the following commands. Just type them in and press Enter.
M104 S200 command will heat up the extruder up to 200 degrees Celsius.
Once it’s hot enough, you need to extrude some blue filament with G1 A30 F200 command.
Next, use the G1 A-100 F200 command to retract and remove the blue filament.
Put in the yellow filament into the extruder and feed it by typing G1 A250 F200 in the command window.
Now you need to extrude some green filament because it will be used first. Type in G1 E200 F200.
Restart the printing with M24 command. It’s good to take off the fan for the first layer, just to be sure that it glues together correctly.
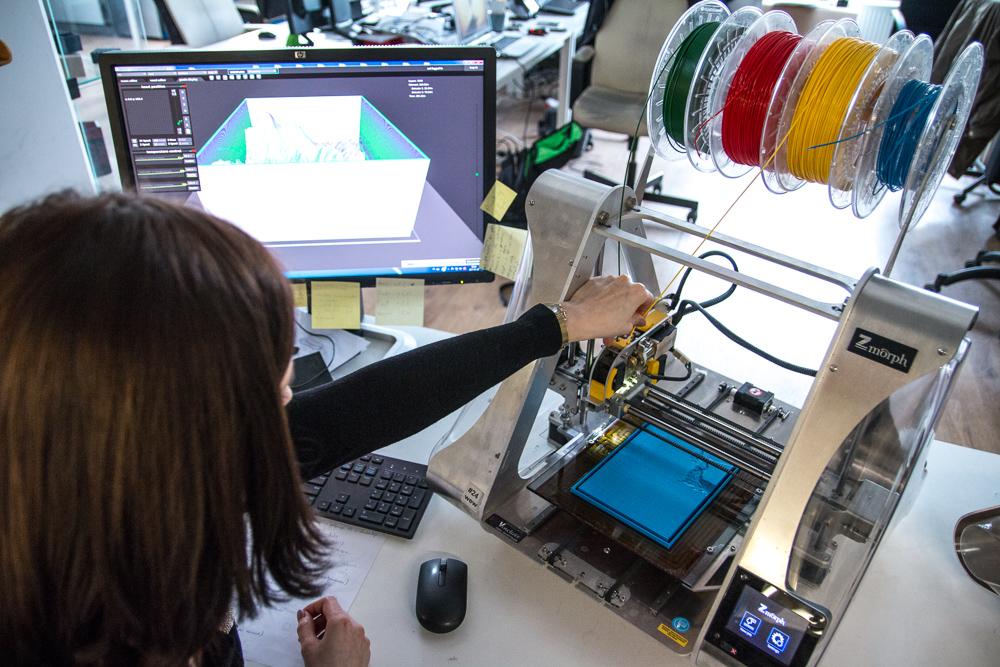
Once another part of the model is ready, the toolhead should automatically get to the 0 position and pause the printing process.
Heat up the extruder with M104 S200 command.
Type in G1 E30 F200 to extrude some green filament.
Then, type in G1 E-100 F200 to retract it and take out the green filament.
Place in the red filament and type in G1 E250 F200 command to feed it into the extruder.
Finish by extruding some yellow filament with G1 A200 F200 command because this color will be used first once printing is resumed.
Resume printing with M24 command. Now you will print the rest of the model and your 4-color mountain will be finished in a few hours.
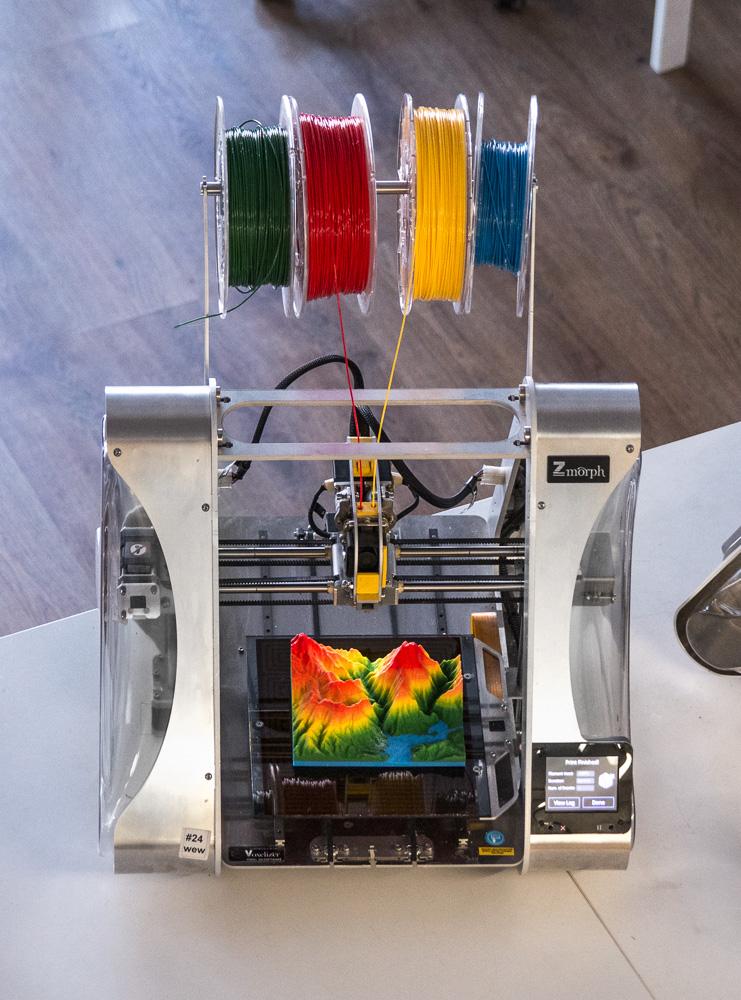
The entire print takes about 26 hours to finish.
M and G commands in the above codes are responsible for certain actions. E and A represent left and right extruder of the DUAL PRO toolhead. Plus and minus symbols represent feeding and retracting the specified amount of material (in mm), while F represents the speed.
When printing the 4-color mountain sample, we recommend using only the commands suggested in the above guide.

Preparing your own G-code for a custom 4-color object seems like a logical next move. It requires a basic knowledge of how G-codes work and a good knowledge of both CAD and Voxelizer software. We will explain this process step-by-step in our next article.
Write a Comment
Your email address will not be published.