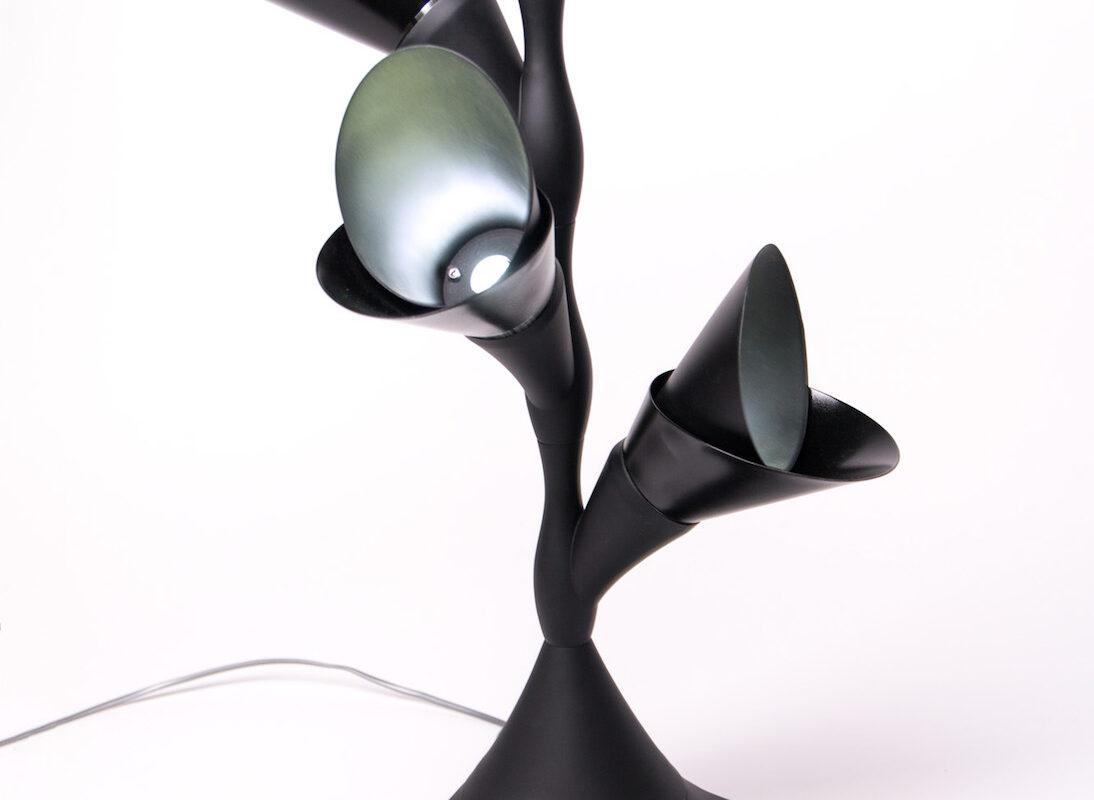
Turn "raw" 3D prints into a fully functional, industrial quality lamp by using a few easy post processing techniques.

Post processing can do magic. Not only in movies but also with your 3D prints. Post processing techniques like sanding and painting allow you to make your 3D printed creations look and feel like the real thing, including color, texture, weight and function. If you use 3D printing professionally, consider the following easy techniques for turning your models into realistic prototypes, showcase models or movie props. If you're a hobbyist, these techniques will make your home ornaments, gifts, cosplay accessories and other home projects look just amazing.
In this article we'll show you how we turned a bunch of 3D printed parts into a fully functioning and professionally looking lamp. We'll use filler and sanding paper to turn coarse 3D printed texture into a ultra smooth surface. Then we'll use black paint and varnish to get the right color and finish. For the final effect we'll install a lighting system.
Supplies:
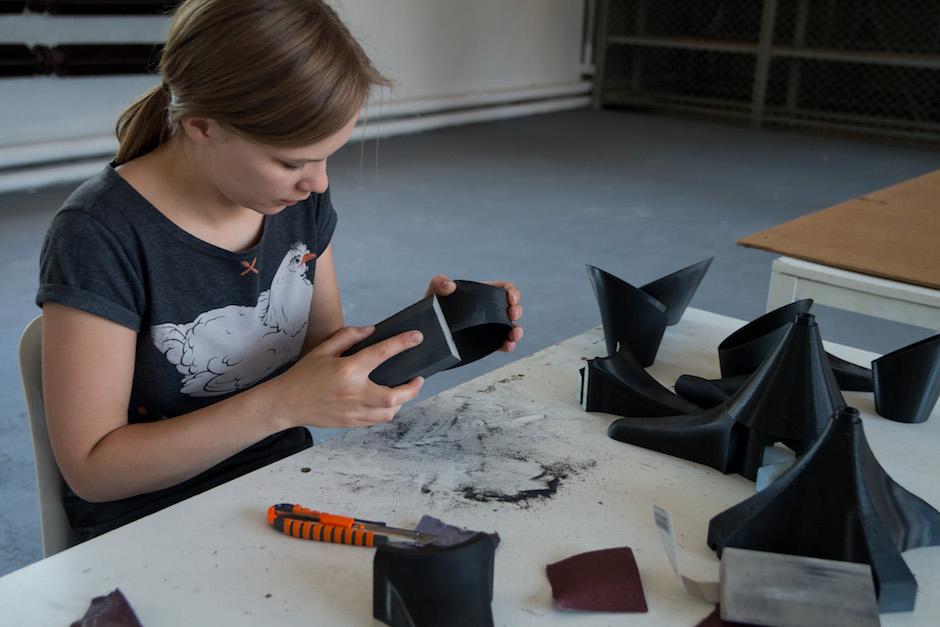
Remove all support material left after 3D printing. Use sandpaper to even out texture of your prints until they feel smooth in touch. They don't need to be "super smooth" yet, that will come after applying filler and paint.

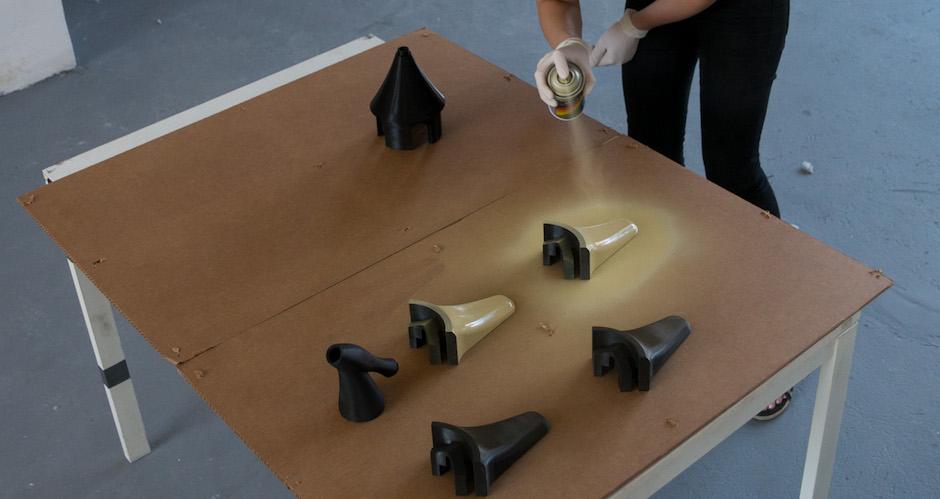
Apply 3 - 4 layers of filler, each layer after 10 -15 minutes interval. Make sure to work in a ventilated area and wear a protective mask!
Leave to dry for about 2 hours.

The best choice of sanding paper would be fine grit, water sandpaper. If the surface of the lamp parts is not smooth enough, you can repeat steps 2 and 3 by adding more filler, leaving to dry and sanding until you get the desired effect.


2-3 layers of paint should suffice. Time to dry: about 2 hours.

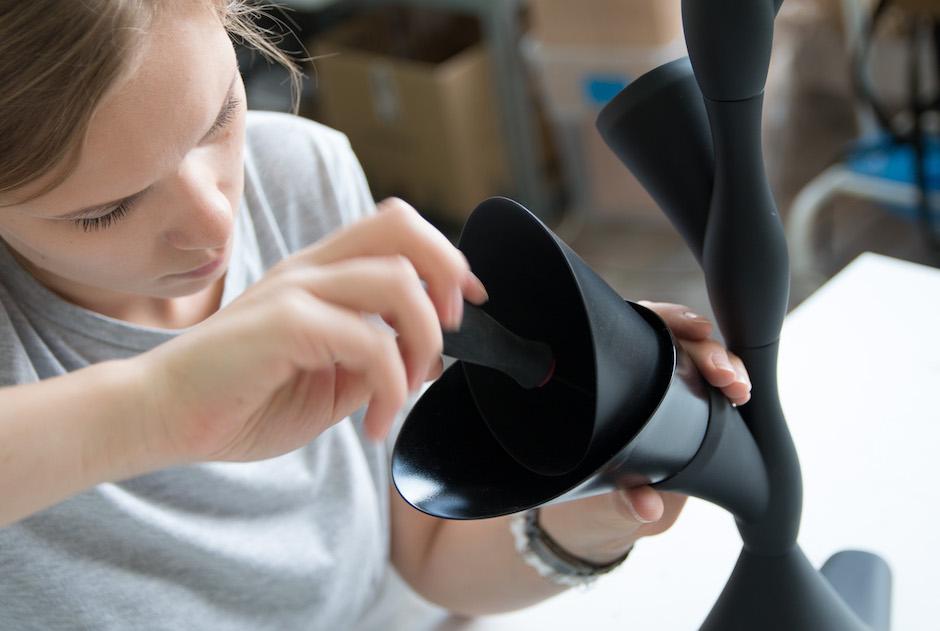
At that point you can glue the parts together and enjoy a 3D printed lamp with industrial finish. You can also go a step further, and add a lighting system to make the lamp actually glow - that's what we'll do in the next steps.
If you don't have any experience with LEDs try tutorials like this one, or ask somebody more experienced to connect all the wires of your lighting system.


In this short article, we've shown you how to turn "raw" 3D prints into a fully functional, industrial quality lamp by using a few easy post processing techniques. This way you can create professionally looking prototypes and showcase models, or create custom appliances for you and your friends.
Stay tuned for more articles on post processing.
Write a Comment
Your email address will not be published.