Let's discuss materials fixturing for CNC milling on Zmorph Fab. Learn about different types of clamps for the new CNC worktable.
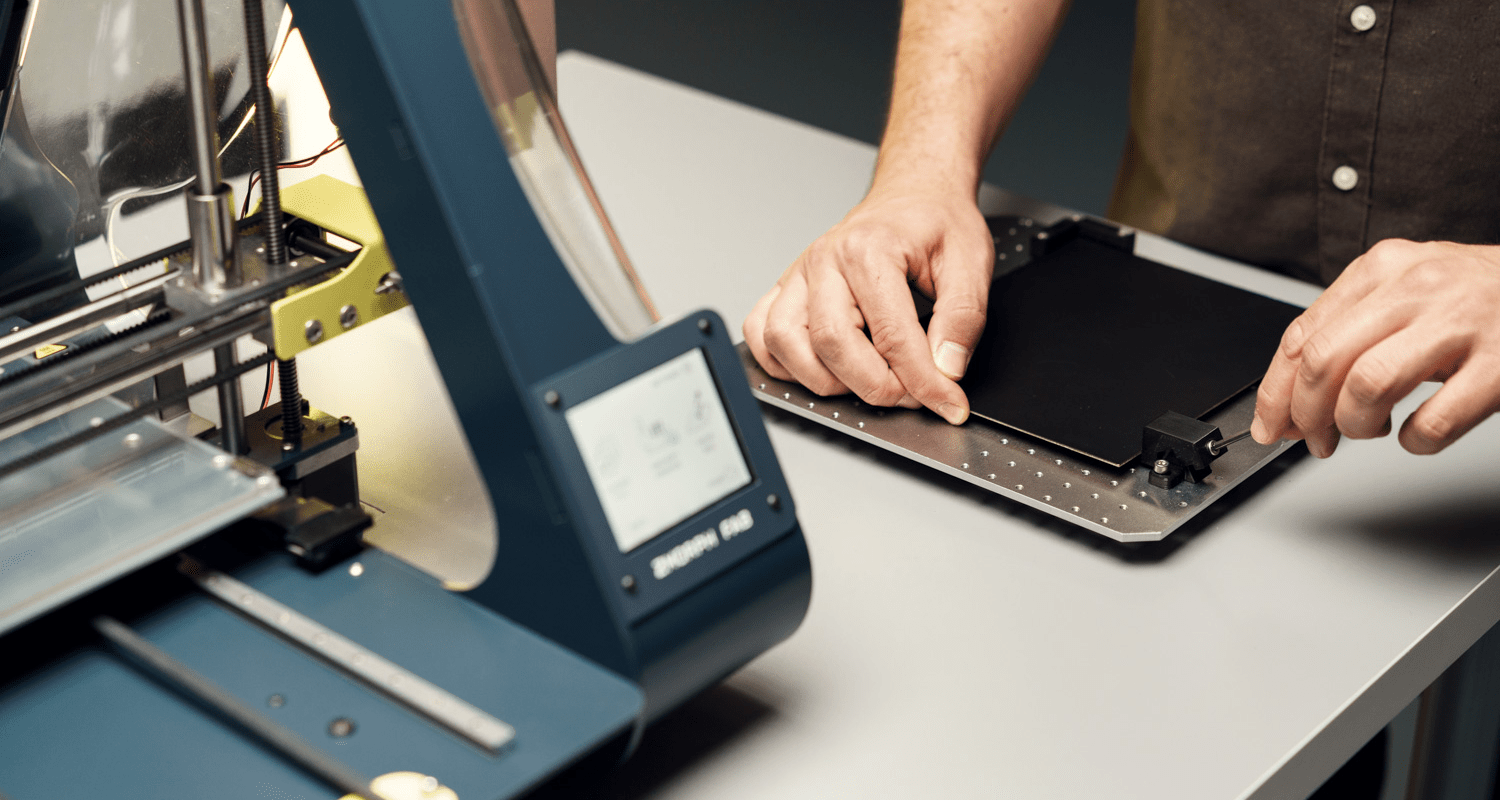
With the release of Zmorph Fab, we want to discuss the new CNC worktable that features a practical CNC mounting system. Below you’ll find all the information about the safe installation of various materials before CNC jobs.
This article was written in cooperation with Przemysław Kornatowski, engineer at Zmorph S.A.
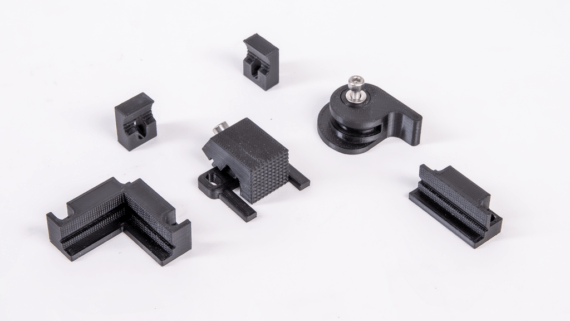
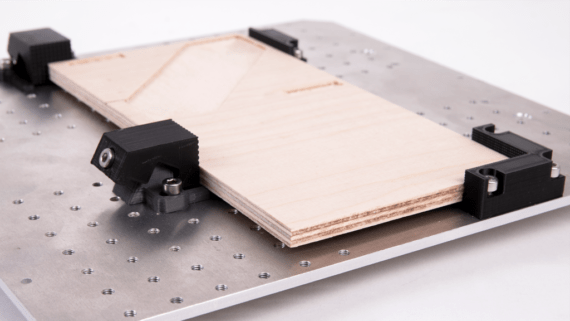
The new aluminum worktable for CNC operations was designed for easy, safe, and intuitive materials mounting. Along with the CNC worktable, we produced new fastening options in various shapes and sizes. The new worktable is 259x250 mm and features 168 threaded assembly holes with 15 mm spacing for materials not using the whole table area, and 10 threaded holes with 30 mm spacing at the edges that allow using the whole work area.

CornerClamp is the basic passive fastening designed to block the material in two axes - X and Y. It’s the easiest mounting system you can install on the CNC worktable. This mounting has 3 holes with 30 mm spacing, that use three 12 mm M4 bolts to safely mount the material. Additionally, there’s an incision on 3 mm height for mounting thin materials (3 mm thickness max) that allows cutting outlines.
Minimum fastenings needed to install a material: CornerClamp and 2 active mounts.
Mounting difficulty: 1/5

SideClamp is the second passive mounting system designed for the new CNC worktable. Its purpose is to block the material in one axis - X or Y. To properly mount the material the user needs to use at least two SideClamps and two active fastenings. There are two holes with 30 mm spacing, that use 12 mm M4 bolts. Similar to CornerClamps, they have a small incision at 3 mm height for mounting thin materials.
Because you need at least two SideClamps to mount the material, this clamp is slightly harder to install than the CornerClamp but still fairly easy to use. It’s best to install the SideClamps as close to the middle of the material side as possible.
Mounting difficulty: 2/5
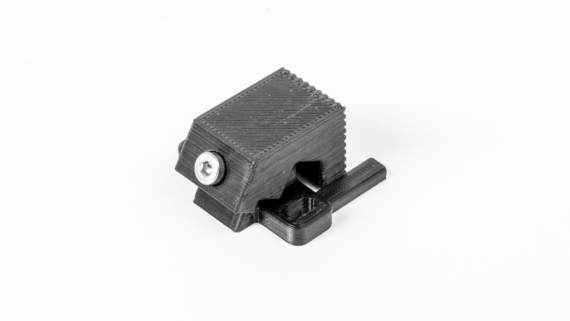
This is an active mounting system for the new CNC worktable. There are two versions of ToeClamps - one with 30 mm spacing for mounting holes, and one with 60 mm spacing. They both use 10 mm M4 bolts. The mounting holes have an elliptic shape to regulate the mounting point by 3 mm forward or backward. You can push the movable part of the clamp 4.5 mm forward, which makes mounting the material easier.
To use an active fastening you need to install a passive fastening (such as SideClamp or CornerClamp) at the same axis on the opposite side of the material.
The ToeClamp works by tightening the screw on the upper part of the fastening, which causes it to slide out and tighten the material for the passive fastening. In order to correctly assemble this mounting, insert a square M4 nut into the slot located on the upper surface of the lower part and then. After putting it on the upper part, screw a 16 mm M4 bolt into it.
Mounting difficulty: 3/5
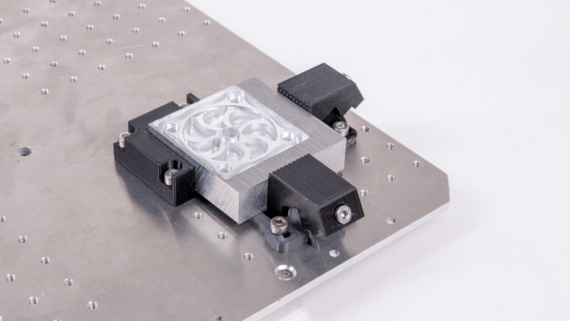
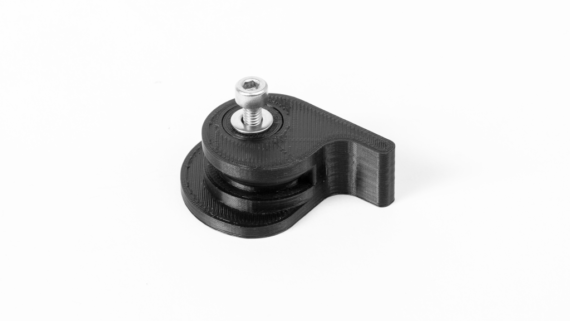
An active fastening designed especially for thin (up to 3 mm) materials. To mount the material install the fastening as close as possible (or slide in the material into the cavity in the clamp) and turn the clamp clockwise. This way the material will be pressed onto the passive fastening on the opposite side. While using this type of mounting, bear in mind that the material can slightly turn due to the friction between the material and the clamp.
Mounting difficulty: 4/5

This fastening allows mounting materials with the size of the work area. Mounting is done by screwing a bolt in the clamp and pressing it against the material. The length of the bolt should be chosen individually, depending on the material thickness. While mounting, bear in mind that the clamp can break while using too much pressure, and that the CNC Milling Toolhead can mill through the clamp if it’s on its way in g-code.
Mounting difficulty: 3/5

The only mounting that needs additional prefabrication is the ToeClamp. In the said case, you should slide a square M4 nut into space on the top of the clamp and push it to the end. Next, put the pressure part on the bottom part of the mounting and insert an M4x16 bolt and screw it until it connects with the square nut.
Thick materials with dimensions smaller than the work area should be mounted with a set of 1x CornerClamp and 2x ToeClamps (for small pieces of material) and 2x SideClamp + 2xToeClamp (for bigger pieces of material).
While operating with pieces of materials with dimensions close to the full working area that can’t be mounted with the set of ToeClamp and Corner/SideClamps is difficult or impossible the user should use the TopClamp type of mounting. This set of clamps limits the area of CNC milling but is the only way of mounting bigger pieces of material. On the edges of the CNC worktable, additional holes are allowing for such mounting.
Thin materials should be mounted using passive fastening options (Corner or 2x SideClamps) plus two eccentric clamps. These types of mountings feature an incision where you can place the piece of material and cut an outline in it. While using the eccentric clamps bear in mind that the material can slightly turn due to the friction between the material and the clamp and that the piece of material can break by too much pressure put on while installing on the CNC table.
Time for 3D printing the basic set of fastenings (1x CornerClamp, 2x ToeClamp): 2h42
Printing parameters:
Maximum height of the material that can be used - 40 mm
Users can make custom tips for ToeClamps.
There’s a possibility of installing a wasteboard on the CNC worktable.
If you have any additional questions, don’t hesitate to ask us via the comment section.
Your email address will not be published.
Hello,
Where can we find the gcode or stl files for the eccentric clamp and the side clamp ? (they are not present on the preloaded microSD)
Thanks!
Please contact the Support Team at https://support.zmorph3d.com/hc/en-us/requests/new