For those eager to push the boundaries of creativity we prepared this quick introduction to coding with voxels.

For those eager to push the boundaries of creativity a bit more than usually, we prepared something special - a quick introduction to CODING with voxels.
Although traditional CAD software used to design 3D content gives a lot of opportunities, for more advanced designers there is always a need for something more. More sophisticated tools, more intriguing workflows, a less stereotypical way of thinking.
We're going to use Processing, a simple programming language for artists and designers. The language itself is very simple and well presented - it's quite easy to learn it from tutorials on www.processing.org website.

Let's start by downloading Processing and unpacking it to our computer. Then, download and unzip this code.
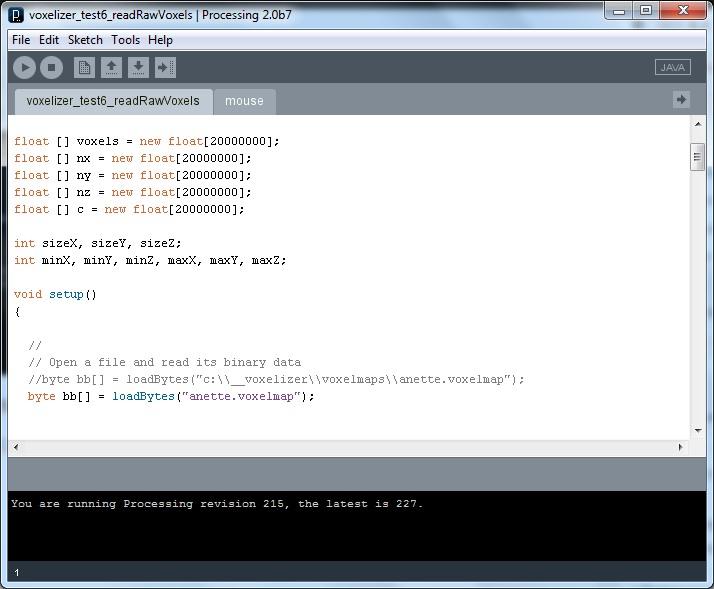
When you click on voxelizer_test6_readRawVoxels.pde , that's how it's going to look in our programming environment:

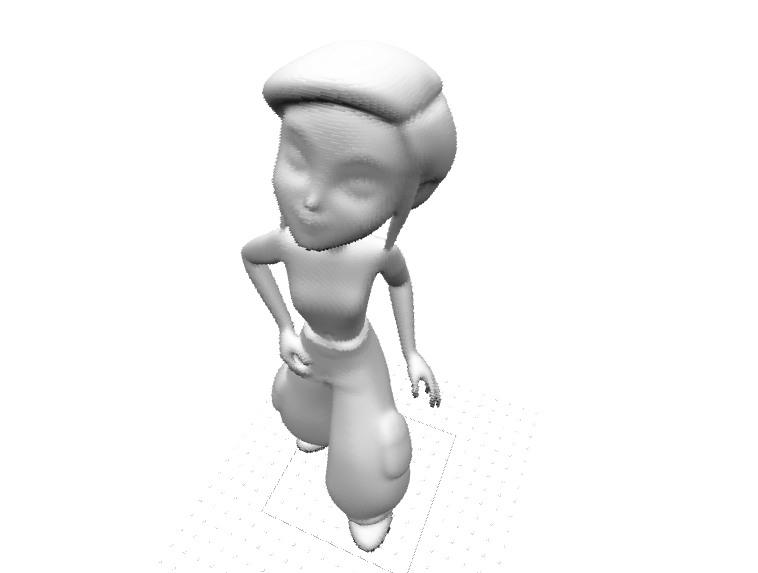
Now, let's start with running the code (ctrl+R). We're going to see new window with OpenGL 3d virtual scene, that will show the model that has just been read from the disk:

The mouse will navigate the view.
Now, how does it work ? Firstly, what you downloaded and unzipped, was the code (.pde files) and one file with voxel data exported from Voxelizer (.voxelmap file). That file is the most important piece of our learning system today, so let's get focused on it. It was created in the software by the process called voxelization. Before then, it was represented by a mesh of triangles (STL file), now it's represented as volumetric pixels, 3D boxes of data, that we'll call voxels.
In comparison with shell-based model representations (often called BREP), they store a lot of other information. For example - each voxel knows how dense it is, or - how much it is 'immersed' in the object. It also knows which material it's made of, or how far inside of the object it sits.
Write a Comment
Your email address will not be published.