CNC milling is both rewarding and challenging manufacturing process. Here at ZMorph we would like to minimize the problems with broken cutters.
This is a first guide on CNC milling with ZMorph VX by our expert Roman Broda. Read also about workpiece holding solutions and metal CNC milling guidelines.

One of the most common problems you will face as a beginning user is breaking your cutters. Once broken, it is impossible to use the same tool again and it can quickly raise the cost of your whole operations. This article will cover reasons why cutters break and what actions to take in order to avoid it.
To make it easier to understand the processes, we have divided the reasons into two parts: hardware- and software-related problems. In the end, there is one or the other reason out of those two categories.
Your cutter is what makes milling possible. Therefore using a proper cutter can save you the trouble of having to repeat the process.
Most importantly - use the biggest cutter diameter you can to cut your geometry right. Don’t use a 1 mm endmill when the smallest feature in the model has 5-6 mm. You can use a 2 mm cutter which will do the same, good job while being more sturdy and less prone to breaking.
The other thing to consider is the number of flutes on your cutter. More flutes usually allow faster milling. However, it is harder for the chips to leave the milling area and will raise the temperature and chance for breaking the cutter (more on chips later in the article).
Finally - use the shortest cutter possible. Cutting forces will apply bigger torque on the tool and break it more easily. The shorter the better!
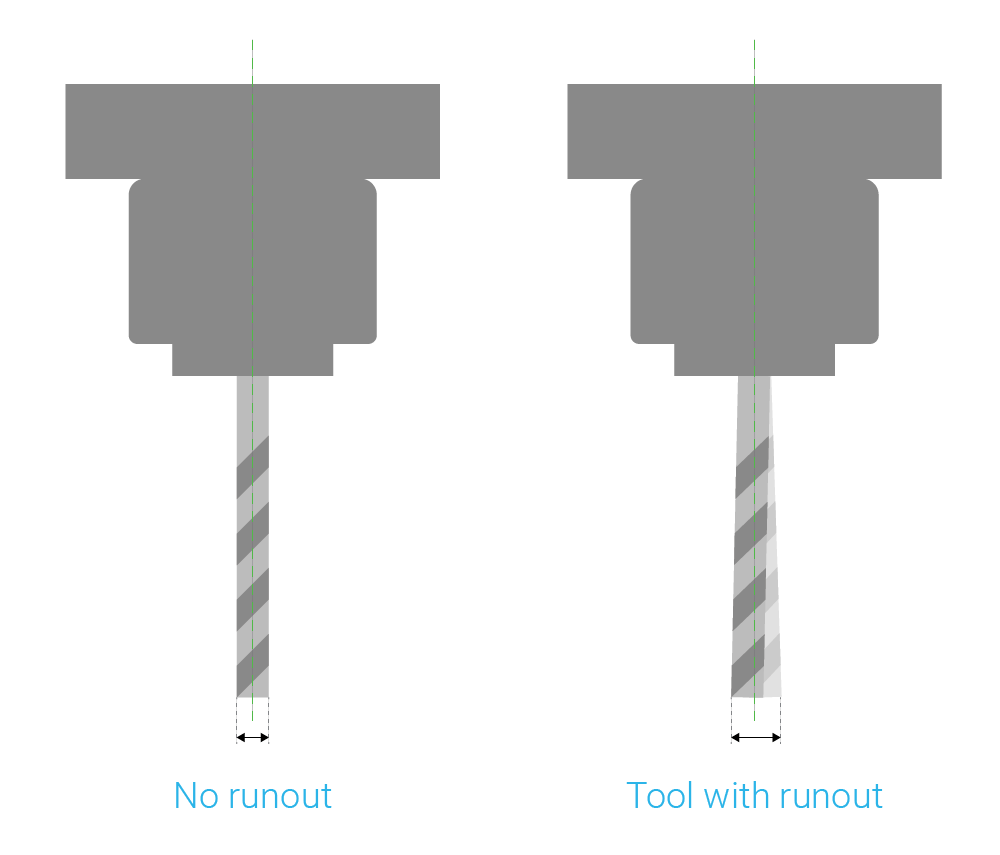
A runout can break your cutter regardless of your other milling settings. Why? A runout is an occurrence of off-center rotation of the cutting tool. This phenomenon will cause the spindle and cutter to vibrate (even during travel movement and idle spindle rotation) and rise forces of cutting, therefore stressing out your tool.

A runout on your tool is always present. It is a combination of runout on spindle, collet, and tool itself. It doesn’t mean however that your cutter will always break. Only more drastic cases of runout are dangerous.
If you notice that the tool has some serious runout, change it, and if it occurs regardless of the cutter, maybe it is time to replace your spindle?
Using unknown pieces of material can lead to broken cutters very quickly. To avoid it, always be sure what material you are about to mill. However, if you stumble across an unknown material, try to guess. It is also a good habit to assume the material is harder than it is in reality and lower feeds and speeds during milling.
In most cases, this will help you get through.
The vibrating material is certainly a trouble. The best case scenario is a little loose material during milling and distorted geometry. A little worse effect would be both wrong milled geometry and a broken cutter. Worst case scenario you can end up with a broken machine due to material being thrown flying by the spindle.
As you can see, proper workholding can help not only with avoiding breaking cutters but with various other issues you will encounter. Workholding propositions will be covered in another article on our blog.

Remember that time when you tried to lift something very heavy - almost too heavy for you? You were straining, sweating and finally had to take a break after some time. It is similiar when a cutter has to cut a lot of material. If there is too much of material, the cutter will have a hard time doing it and finally will give up. The main difference is that a human can take a break. The machine doesn’t know that the cutter has a hard time and the cutter will eventually break.
Setting proper feeds and speeds is the most important thing to consider when starting a milling job. Too much feed rate (cutting speed) will break your cutter. Too slow feed rate, however, will increase the job time significantly. Find the sweet spot. If you see that the cutter is working just fine - rise the speed. If it’s straining too much - lower it.
Remember that feedrate is a complex parameter, which depends on a lot of factors like material hardness, tool geometry (diameter and flutes) and cutting speed.
As a machinist, your responsibility is to “tell” the machine where your material is. The same idea concerns tool offset. If you forget to set material 0 positions and tooltip offset, you will have problems. And also - remember to home the machine before positioning.
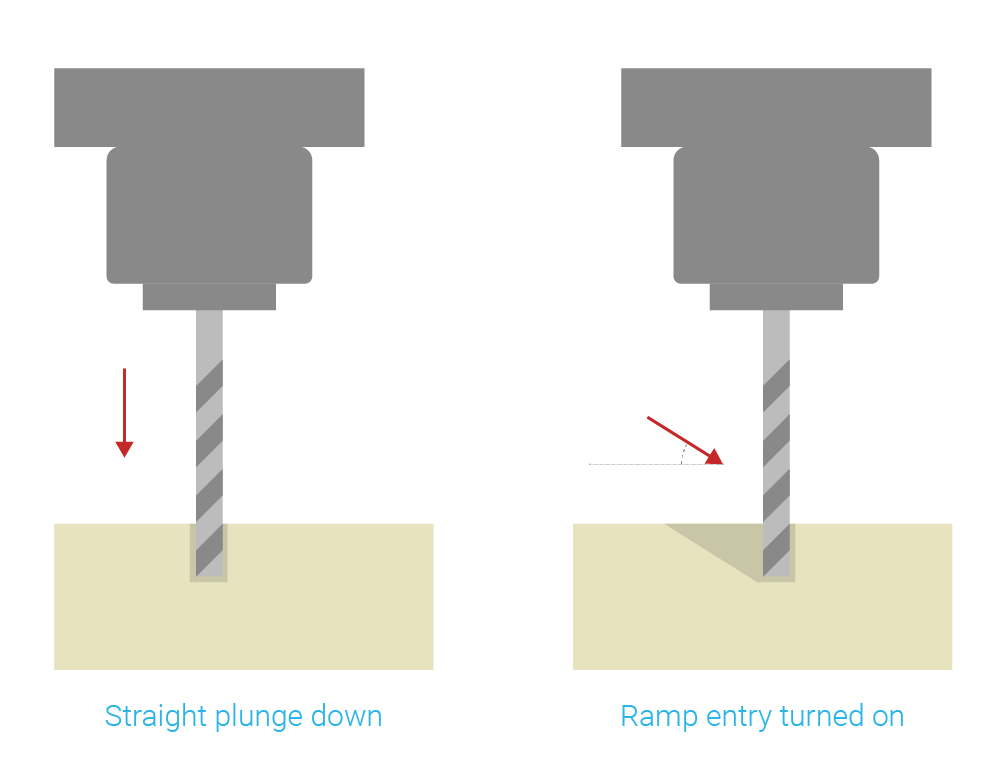
Getting your cut started properly can be a very important part of your machining process. Too rough entry will very likely break your tool, especially smaller ones.
Turn the ramp entry on to lower entry-cut forces wherever possible. However, if you must use a straight down cut, adjust the lead in/out speed to avoid breaking tool.

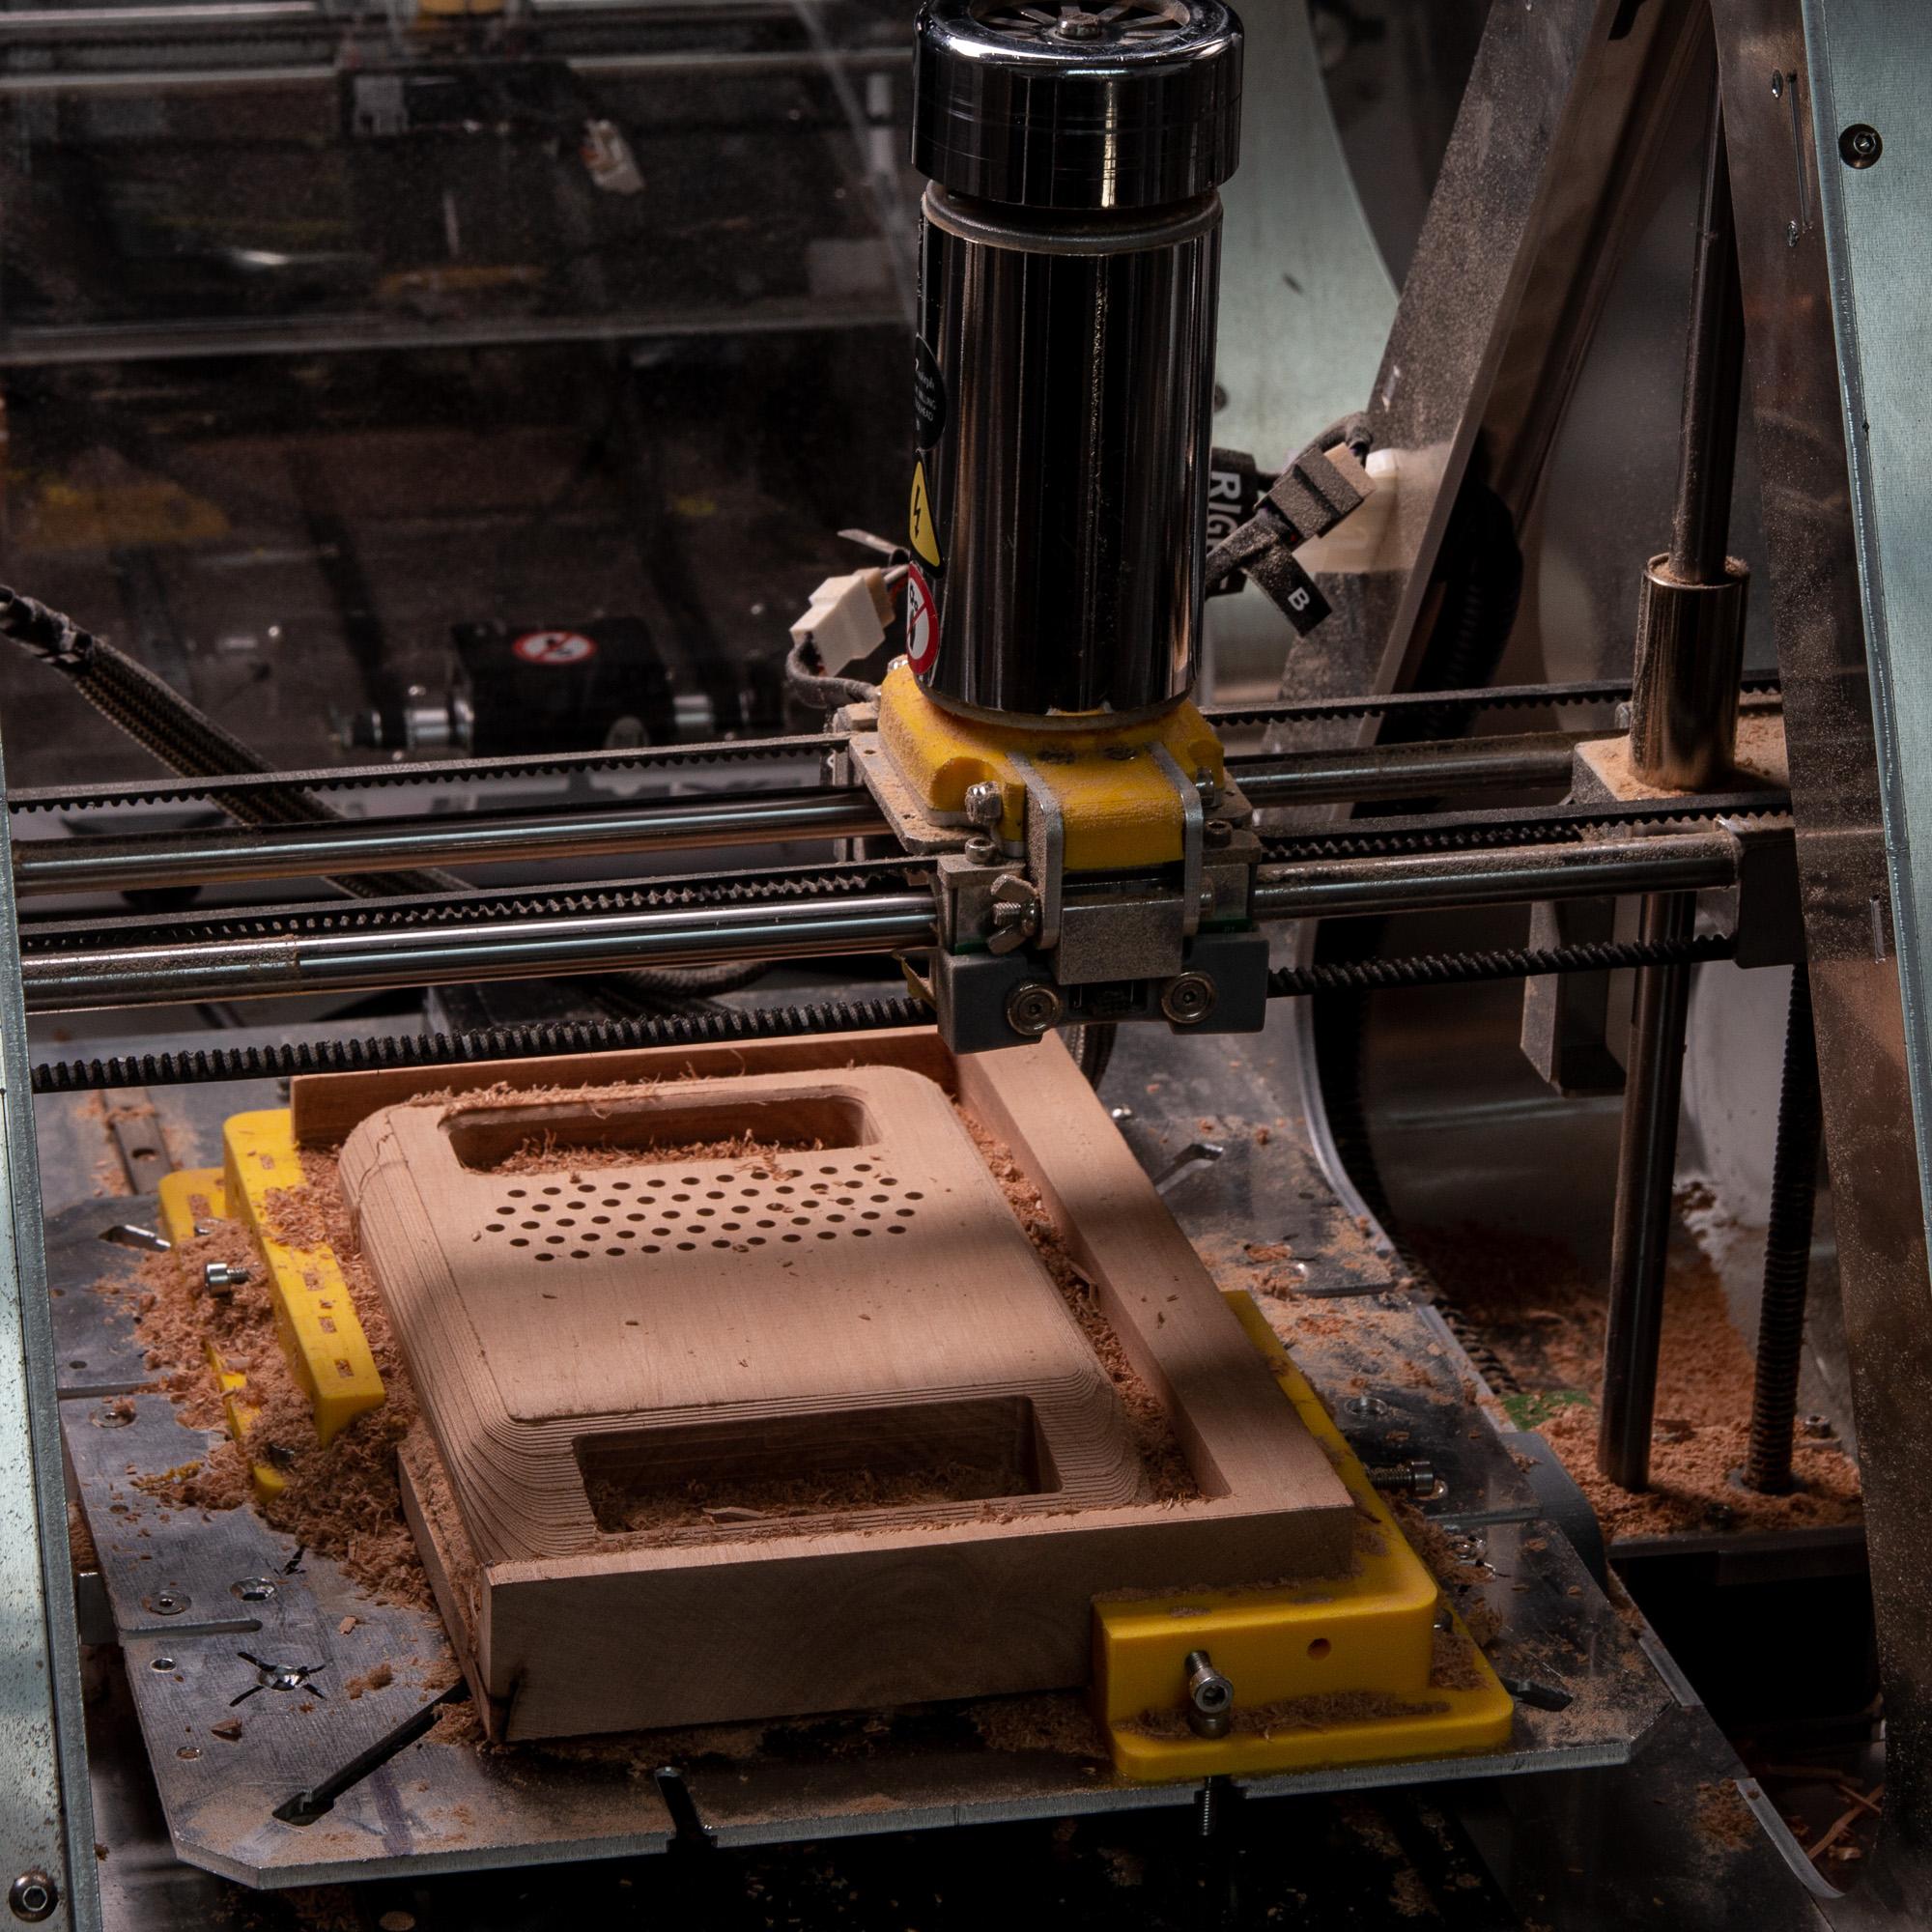
Material shavings are a natural by-product of milling and engraving. Clearing them is a must. But what if you leave those during milling? What if they accumulate around your cutter?
The more chips in a path of your cutter, the harder it is for new chips to get out of the way of your tool. There is no need to raise the difficulty of cutting for the cutter. The other situation is a chip getting caught between your material and cutter. If it doesn’t break your cutter, at least it will affect the finishing of the part.
So be sure to clear the chips from time to time (if not all the time). You can always pause a work, vacuum away the chips, or use a pressurized air to blow the chips away.
[Tweet "How to avoid broken cutters? #ZMorphVX #CNC"]
*Article written in memory of all broken cutters

Write a Comment
Your email address will not be published.